How To Photograph 3 month Old Babies | Tips For 3 Month Baby Portraits
How To Photograph 3 month Old Babies | Tips For 3 Month Baby Portraits
How To Photograph 3 month Old Babies | Tips For 3 Month Baby Portraits
So, you finally feel like you're starting to get a handle on newborn posing only to get a 3 month old in front of your camera and become completely lost as what to do! Don't worry you are not alone. These key points have been essential to photographing 3 month old babies!
Forget The Posing
First forget about posing. Don’t even attempt to try and pose a 3 month old, it will never happen. They are much too alert and aware of their surroundings to stay in a pose for more then .o5 seconds. You can now let out that sigh of relief!
Creating a Workflow
Although you're not posing the baby, you still need to have a plan in place so things run smoothly. You have a short window (about an hour) before the baby get's really fussy, so you want to make the most of your time. The best way to ensure a successful 3 month session is to have a plan in place just like you would for a newborn session. Until it becomes second nature to you I’d suggest writing it out and keeping it close, but inconspicuous. If it is more helpful use pictures!
4 Set Ups Lots of Variety
I have 3 set-ups that I use for 3 month sessions.
Tummy time
Baby on back - Bird’s eye view
Baby in a Basket.
For each set up take the following images:
No hat - Pull back - Close up.
Add a wrap - Pull back - Close up
Hat/headband - pull back - close up.
Add a wrap - pull back - closeup
If you only took one image of each you would have 36 images! Or course you'll take several shots of each setup, but be careful not to spend too much time on each one, you don't want the baby to become fussy before you get through all of your setups!
My Workflow
Greetings 10-15 minutes
I always greet parents at the door and show them around the studio if it’s their first time. I make sure I interact with the baby for a bit then bring parents on a walkthrough of my workflow and show them props I have chosen for their approval. I suggest having things ready. If you let parents choose they can become overwhelmed and it could take up a lot of time.
Next I have parents get the baby dressed or undressed (if shooting in diaper only) while I prepare the first set-up.
Set up 1: Baby on Back - about 5 minutes
When photographing baby on their back it’s easier to use a flokati or fluffy blanket. It’s hard to keep the wrinkles out of a stretch blanket. The baby will be kicking and moving a lot! You may want to put something under to lift the baby’s head slightly. You can play around with angles and how high you want it. You don’t want to shoot up the baby’s nose so a little lift will help avoid that. I like to use a small boppy pillow.
Have mom or dad stand right over your shoulder close to your lens to get baby looking at the camera. Make sure they stand on the side closest to the light. You want the baby to look towards the light not away. I parents not to be afraid to invade my personal space. Whatever it takes to get a great smiley happy baby! Babies typically don’t mind this position so I spend about 10 minutes to capture a whole variety of facial expressions and to had hats and wraps. This is a great time to include a favorite blanket or a small doll for the baby to hold.
While you have baby in this position take some detailed shots of the babies little toes, hands, lips, ears etc. I do this for every session through the 1st year! Once you feel confident you have some great shots move on to the next position.
Have parents pick up and comfort baby while you adjust your setup for the next position. You can use the same blanket or switch them out. If you are using a small boppy you can just turn it around for the next set up.
Set up 2: Tummy Time about 3-5 minutes
If you use the same blanket or choose another make sure it is high enough so when the baby is on his/her tummy and lifting their head they are not lifting it beyond the blanket onto the wall.
Under the blanket use anything that will help prop the baby up so they are not having to do all of the work (that small boppy from the first setup works great). This will keep them happier longer for those who aren’t fans of Tummy Time. Sometimes I shove some stuffers under the poppy for extra lift, or use a larger poppy, but you can use a rolled blanket too as long as you get enough height and it does not cause too many uneven lumps or wrinkles in your backdrop. Every baby is different, so you will have to adjust accordingly.
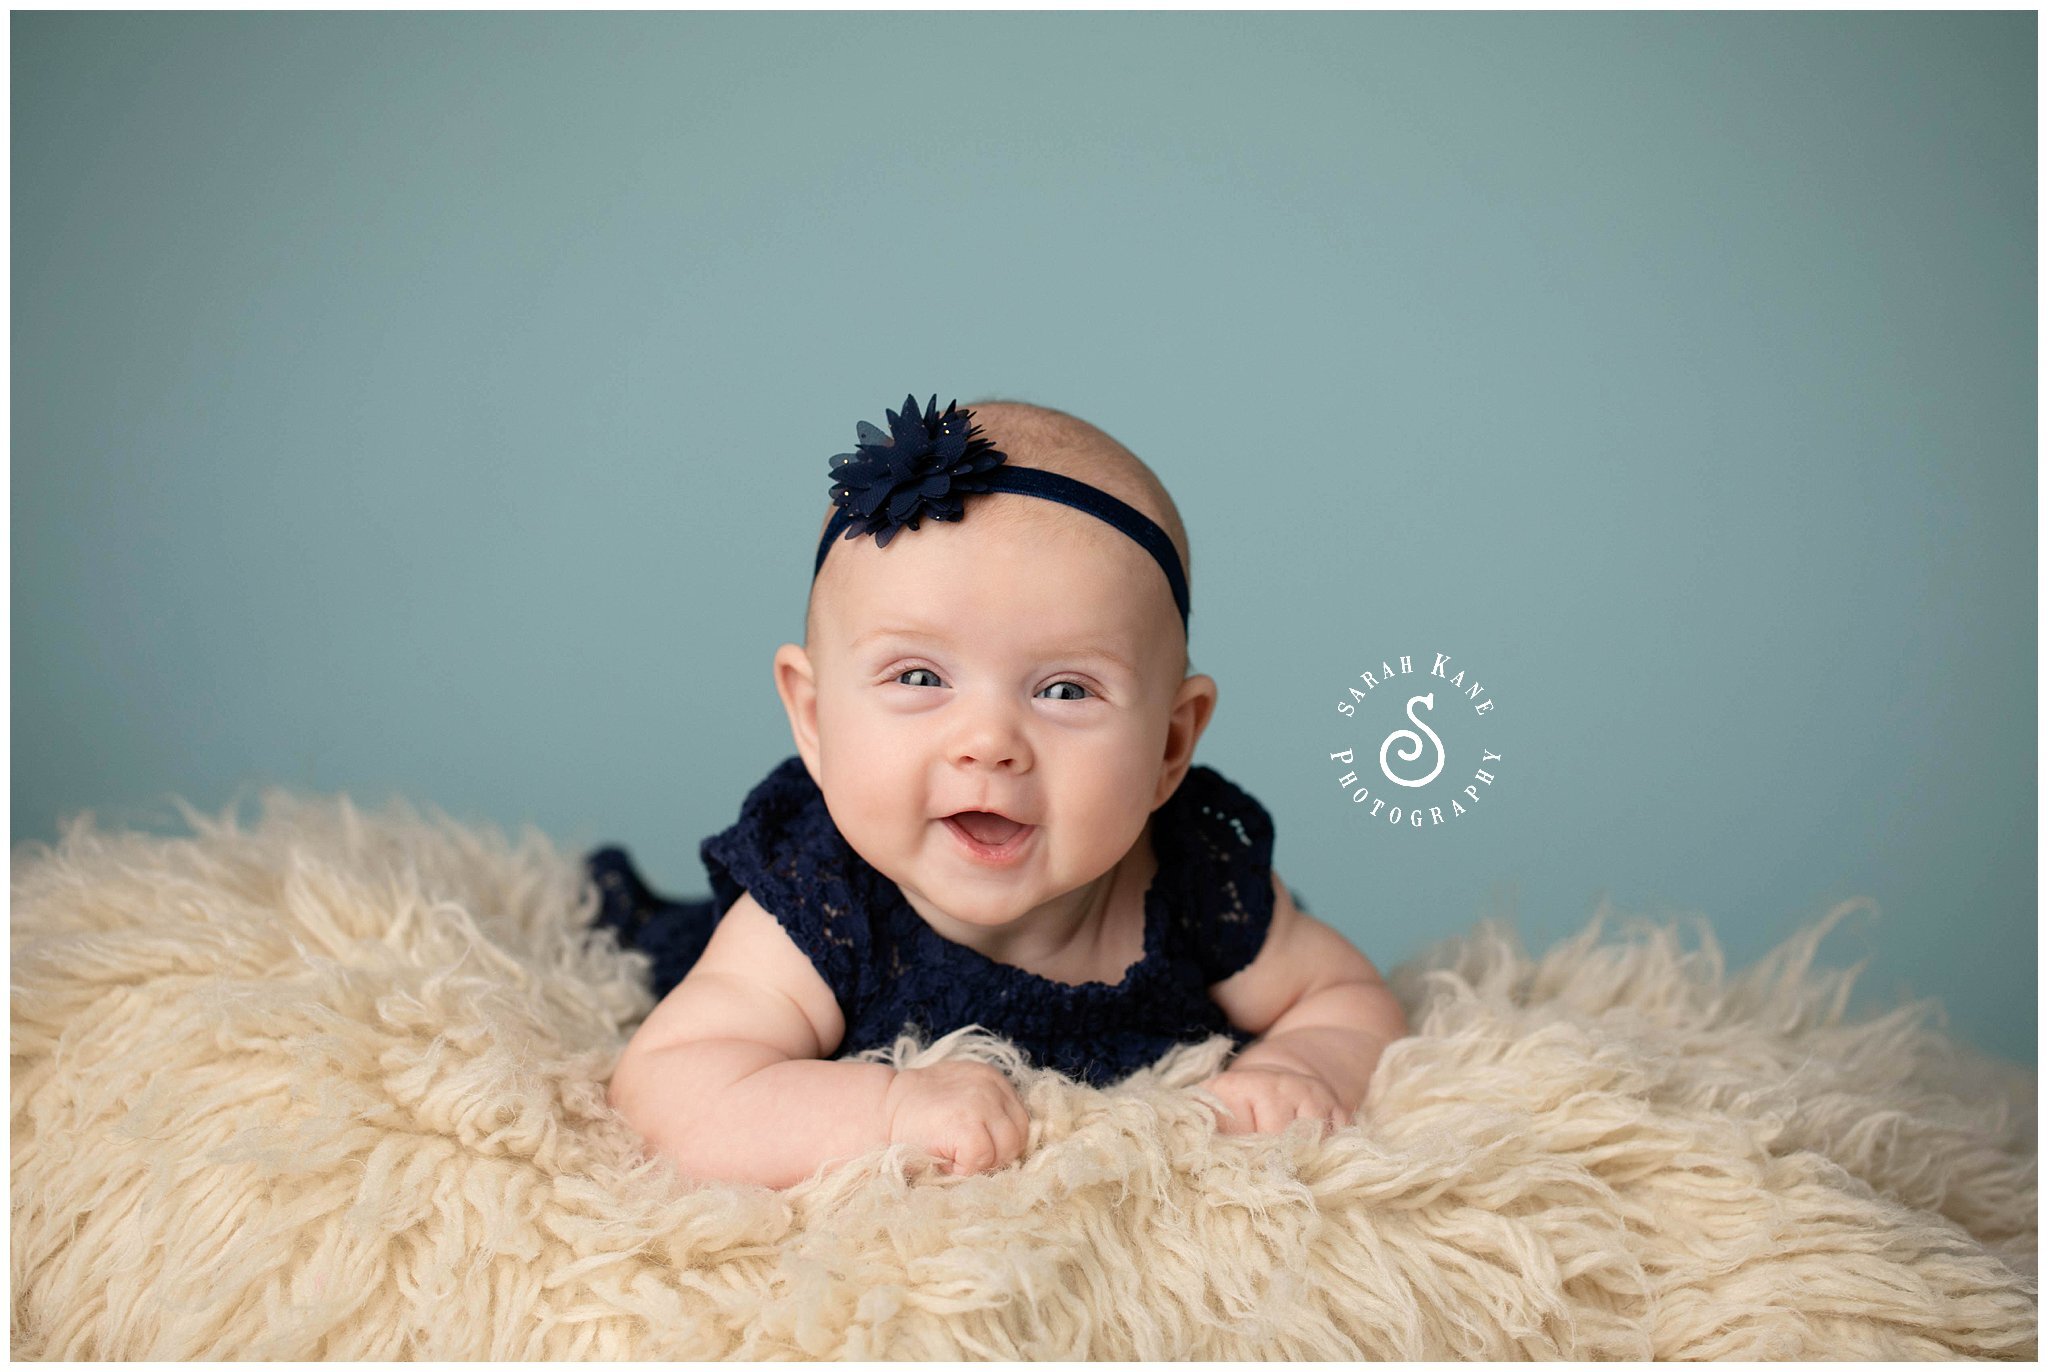
Put baby on their tummy where their arms are resting and helping to support their weight on the edge of the boppy. Again have one of the parents right over your shoulder to get baby looking at the camera (towards the light). I try to spend only 2-5 minutes with this pose and move on. If the baby is really unhappy or you start to see signs that he/she is getting frustrated sooner then move on and try again at the end. If you have a baby who really loves tummy time and you are getting great shots then I would stay longer in this position.
Set up 3: Baby in Basket 5-10 minutes
My last set up in a basket. Babies are too large at this age for most of my props, so I just keep it simple and use a basket that is large enough. Make sure you lay the baby on his/her back.
Wrapping Things Up 10-15 minutes
When I am finished I don’t want parents to feel they are being rushed out. While they are getting the baby ready for the ride home I explain how their images will be delivered and an estimated time of when they should except them. I make sure I tell them how sweet their baby is and how much I enjoyed the session. I actually tell them not to feel rushed and to feel free to feed baby if needed (I’ve never had anyone take me up on it for a 3 month session, but I want them to know they can if needed).


